Documentation
Consent Database for Squarespace
Squarespace is a CMS that allows the creation of a website with no coding experience. We will show you how to integrate the Contact Form page into our Consent Database using an automation tool named Zapier.
It’s straightforward, and you don’t need to write code!
We’ve teamed up with Zapier to make this integration process easier for you. For more information on Zapier, please see our guide here.
In this guide, we’ll look at GDPR consent requirements and how to add iubenda’s Consent Database to your Squarespace site.
→Jump to How to add the Consent Database to Squarespace
Why do I need GDPR proof of consent
Consent records are specifically required under the GDPR. Keeping a complete and thorough record of consent is required and is an essential part of privacy compliance. The records of proof are managed by you, the Data Controller. As a result, the GDPR requires you to keep “proofs” or records of consent that contain specific details that might prove that the consent received is genuine and therefore valid under the GDPR. Consent must be explicit, freely provided, and verifiable under the GDPR. You can read up more on iubenda’s Consent Database here.
What must GDPR consent records contain
These records should include a way of identifying the user, proof of consent, record of the consenting action, and the legal documents available to the user at the time of consent, among other things.
The following information should be recorded:
- who provided the consent;
- when and how consent was obtained from the particular user;
- the consent collecting form they were presented with at the time of collection; and
- whatever conditions and legal documents were in effect at the time the consent was obtained.
You can read about the full requirements here.
iubenda’s Consent Database automatically records and manages GDPR & LGPD consent and privacy preferences for each of your users. You can read up more on iubenda’s Consent Database here.
How to add iubenda’s Consent Database on Squarespace
Please note: For the method, you will need Squarespace premium.
First, you want to open your Squarespace project on your website. Then, Click on “Settings” in the left side bar.
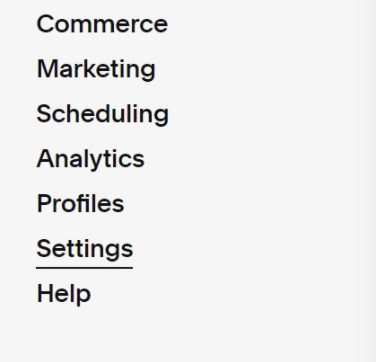
Next, click on “Advanced” in the left sidebar.
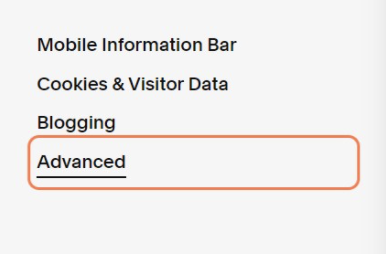
After that, a drop-down menu will appear; here, you need to click on “Developer API Keys”.
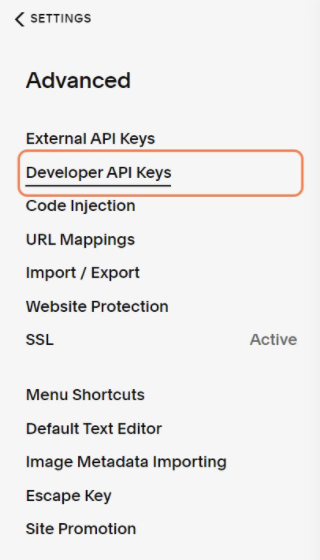
Now, click on “Generate Key”
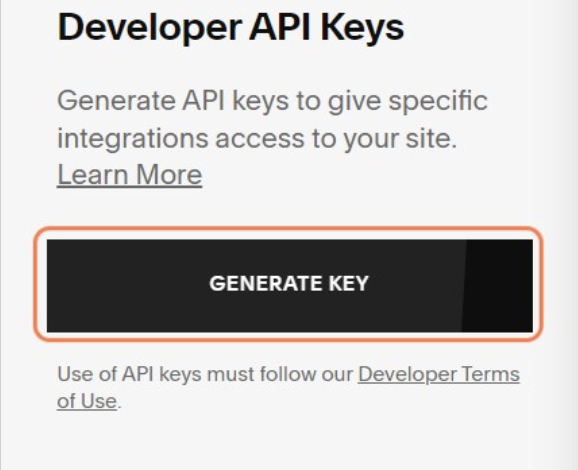
Here, you can enter a name for the key we are generating (e.g., zapiercons)
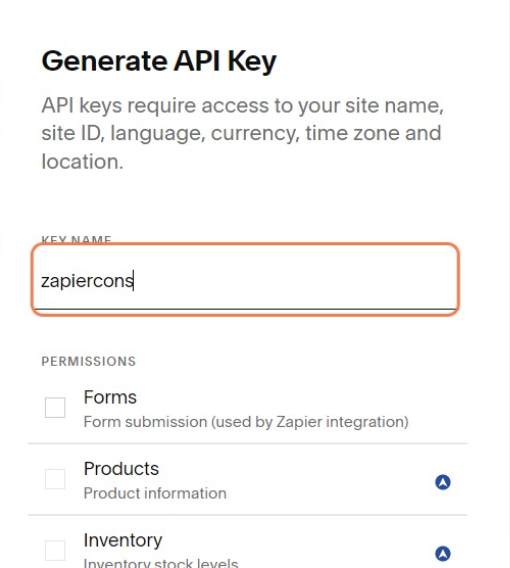
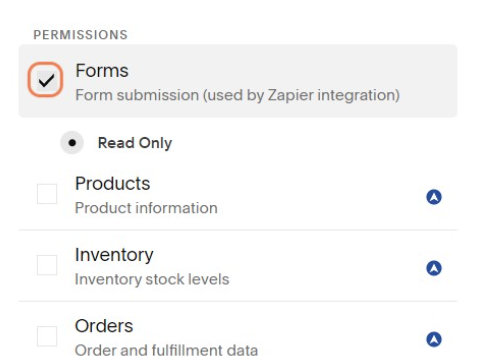
Check the Forms box under “Permissions”.
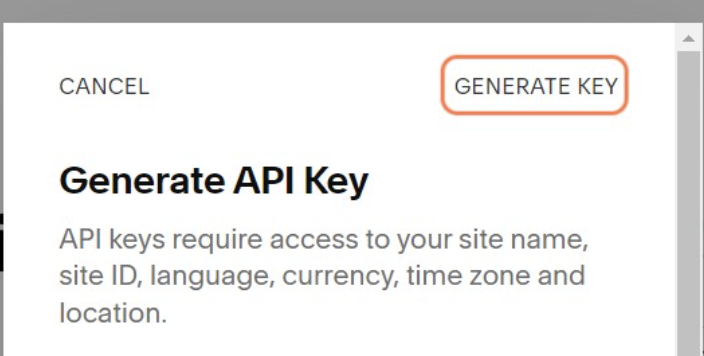
After that, in the top right corner, click on “Generate Key”
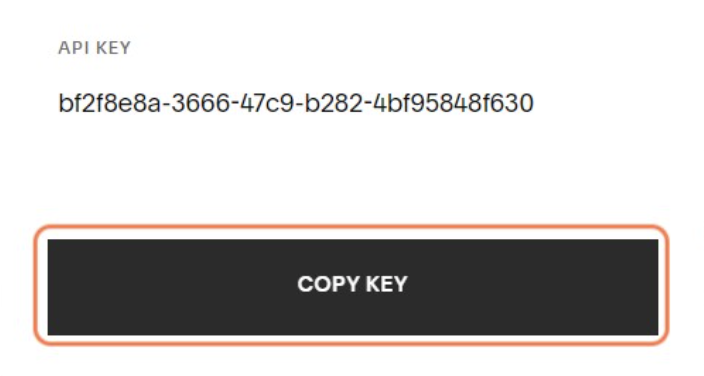
We need this key once we create the integration on Zapier, so click on the “Copy Key” button.
If you haven’t already created an account on Zapier, you can do that now. Check out this guide for more information on getting started and a link to set up your account through iubenda.
Once set up with Zapier, click on “Create a Zap”.
Type in Squarespace into the search bar, and click on Squarespace. Next, click on “choose an event” and select “New Form Submission”.

Then, click on “continue.”
Next, you want to click on ‘Sign in to Squarespace“. Here is where you will paste the key you generated in your Zapier account.
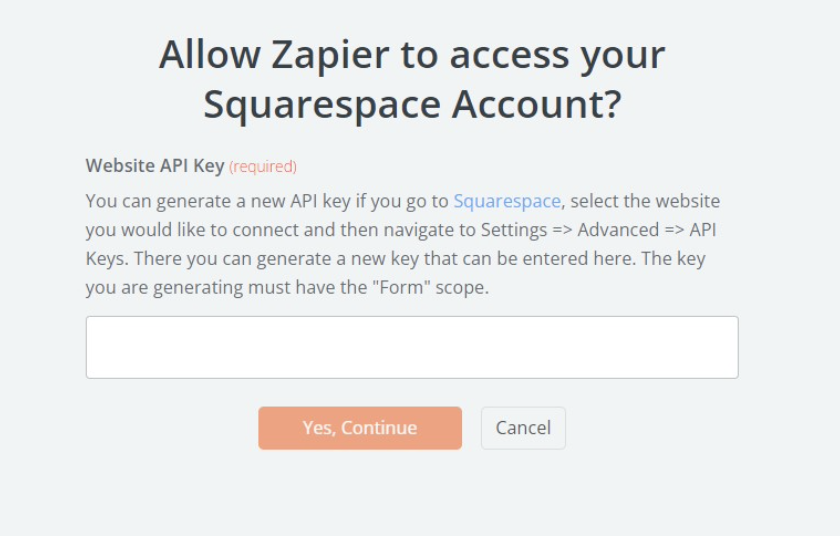
After that, click on “yes, continue.” You will see another “Continue” button to click on.
You need to click on “choose a value” and select the form you want to connect to your iubenda Consent Database.
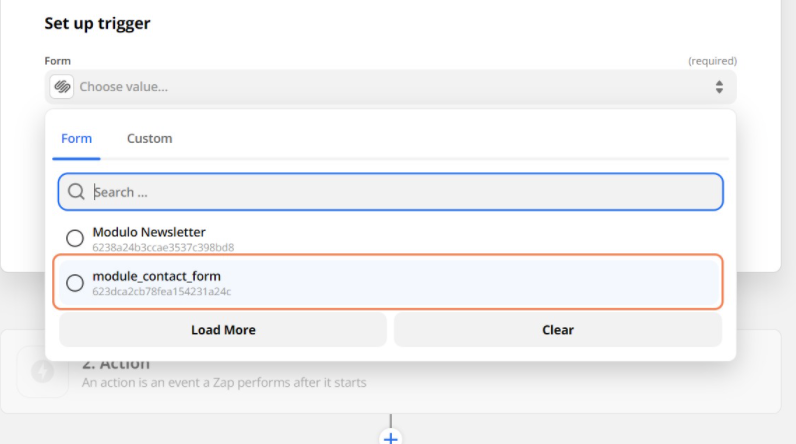
Once again, click on “continue” and test your trigger by clicking on the “Test trigger”. button

Click on “continue” and then type “iubenda” in the “action” event popup.
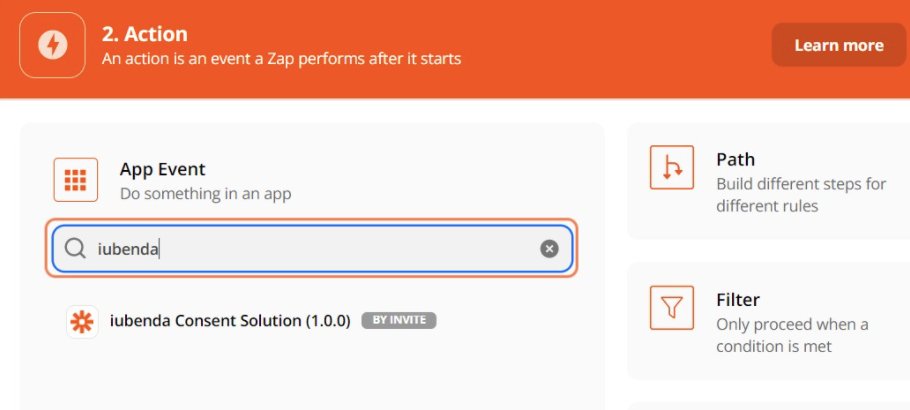
Now, Click on iubenda Consent Database (1.0.0)
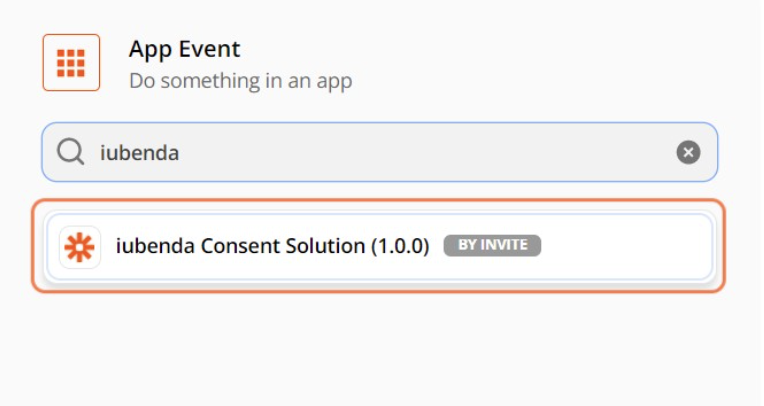
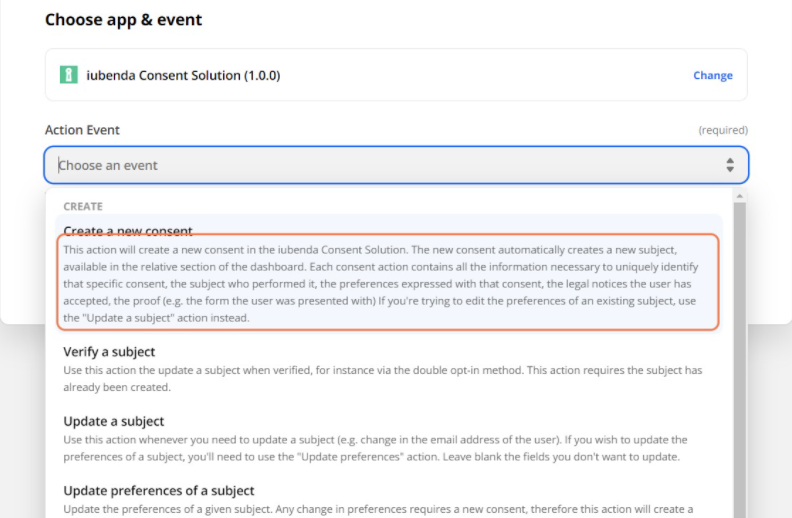
And Click on “Choose an event”, then select “create a new Consent”.
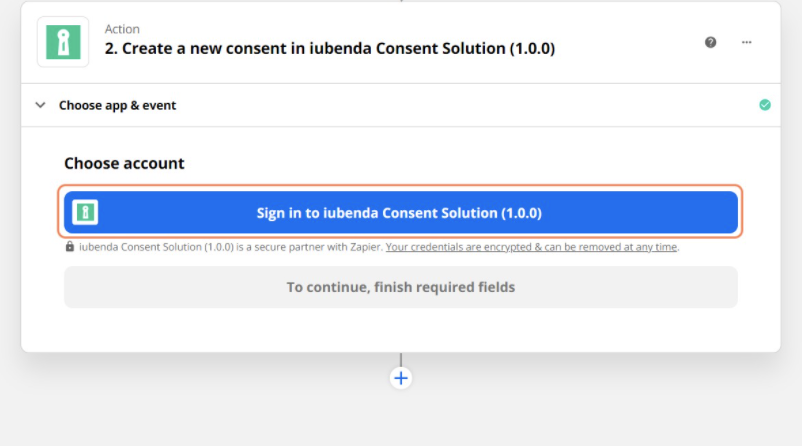
Click on Continue and sign in to iubenda Consent Database (1.0.0)
Now you need to enter your iubenda Consent Database private API key. You will find this key in iubenda’s dashboard → Consent Database → embed → choose the tab HTTP API → , copy the private API Key and enter it into the box provided by Zapier.
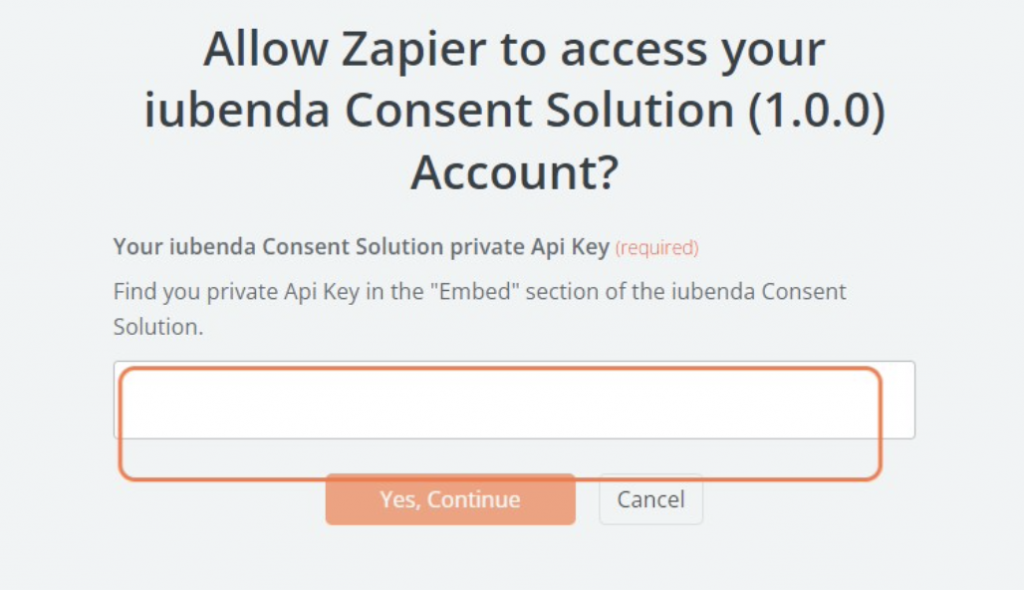
Click on “Yes, continue” followed by “continue.”
Now, let’s add the field(s) coming from the contact form we want to save in our iubenda Consent Database.
Please note that the date and time field can be left empty. It will save a date automatically.
After that, add the subject data (i.e., full name, last name, email, choosing the right field). Click on Show all options if needed.
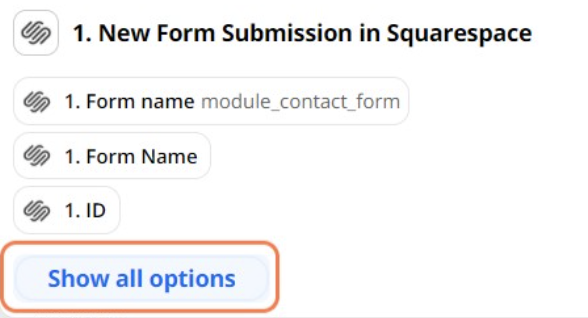
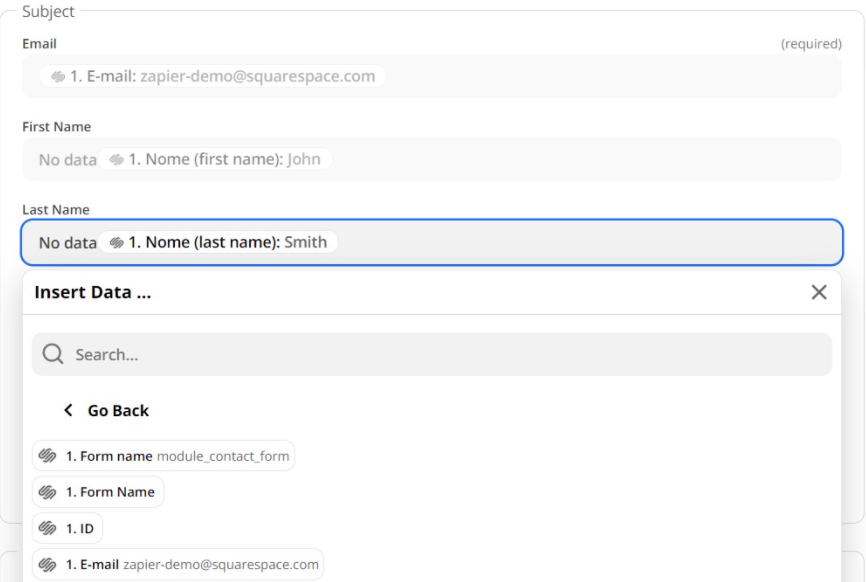
Click on the email text box and select E-Mail, then do the same with the first-name text box and select (first name)
Finally, click on Last Name and select the last name in the drop-down menu.
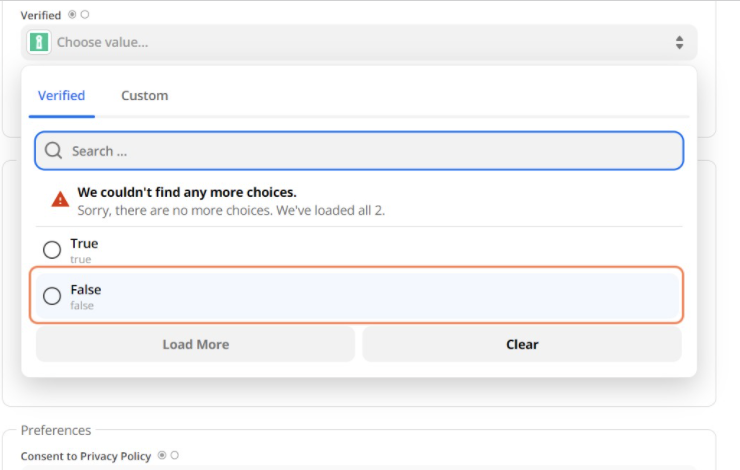
Now, click on Verified and choose “value,” then select “false.”
We can add all the useful information to create a proof of consent, such as the form name, the id of the form, and all the fields the user filled in.
The “content” proof it’s more or less a “recap” of the form sent.
From the list presented on Zapier, select the following:
- Form name,
- ID,
- email,
- Last name
- Checkbox
- Message
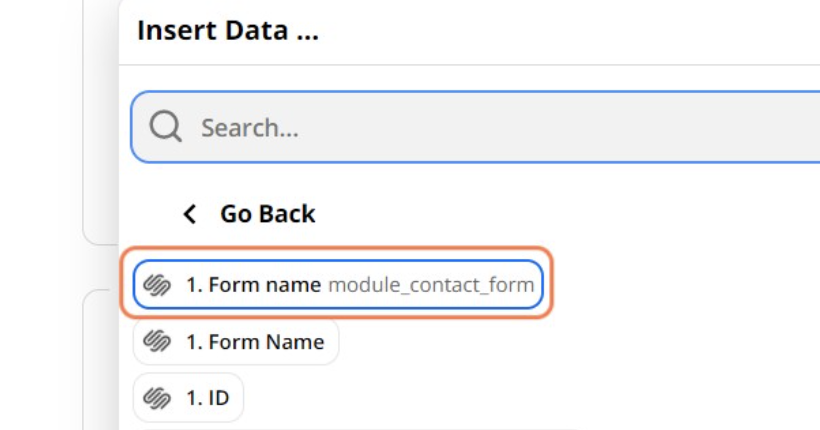
Then, click on “form”. This field can contain an ID of the form or just copy and paste the HTML code of the form; you can check it using the dev tools of your browser.
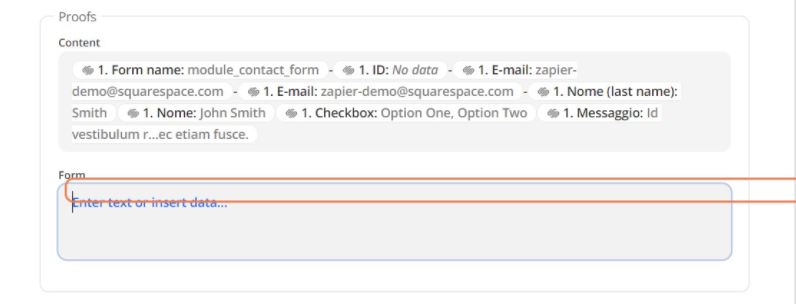
Since we don’t want to add our HTML, Click on Show all options and select “ID”.
Now you need to set “preferences” this refers to the checkbox that the user accepts or does not in the form.
From the “consent to privacy policy” field, click on “Custom.”
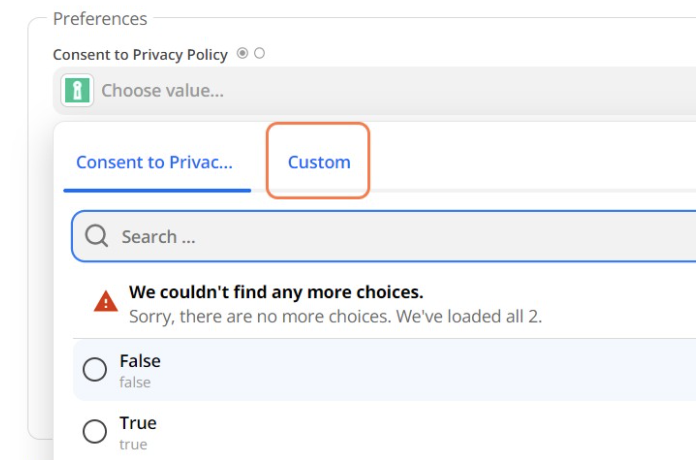
Then click on “show all options” and select “checkbox”. This will read the user’s choice. True if the checkbox is accepted, false if not.
Please leave “Consent to newsletter” or “Consent to T&C” empty if there aren’t checkboxes related to the form. If there are, follow the same steps as the previous point.
Once that is done, click on ‘“continue” followed by “test and continue.”
If the test was successful, congratulations, your Consent Database is working!
Don’t forget to click on “TURN ON ZAP,” and your automation will be ready to work.