Own a new HubSpot site and need terms and conditions but don’t know where to start?
Well, you’ve come to the right place. Let us start by reviewing why you need terms and conditions, what to include and how to add iubenda’s terms and conditions to your HubSpot site.
→Already generated your terms and conditions? Jump to How to add a Terms and Condition on HubSpot
Though they’re not always legally required for other types of businesses, terms and conditions are often mandatory for online stores.
That’s because they contain legally mandated information about the conditions of sale and disclosures on methods of payment, shipping, delivery, withdrawals, cancellation conditions, etc. – as commonly required by consumer protection regulations.
Even if you run a small shop on HubSpot, you should define your terms. It’s for your own good.
Here’s an example European users generally have 14 days to send back what they’ve bought, it’s called “right of withdrawal”. If you don’t correctly inform users of their rights, the withdrawal period is legally extended to 1 year and 14 days!
Do you want to save time, money, and stress? Yes? Then, a proper terms and conditions agreement is needed for your HubSpot store!
As your HubSpot site is unique to your activities and services what you need to include in your terms and conditions may differ from someone else’s. However, it is important to note that there are a number of clauses that are standard for almost every website’s terms and conditions.
For E-commerce, you should consider essential clauses such as:
It is also imperative you clearly display accurate contact details for your company in your terms and conditions.
⚠️ Many of these terms, such as warranty and withdrawal information, are legally required.
Our Terms and Condition Generator is optimized for HubSpot Start generating your Terms and Conditions now
Once you’ve generated your terms and conditions with iubenda there are three ways to integrate it on your HubSpot:
To get started first head over to your iubenda dashboard, click on [Your website] > Terms and Conditions > Embed
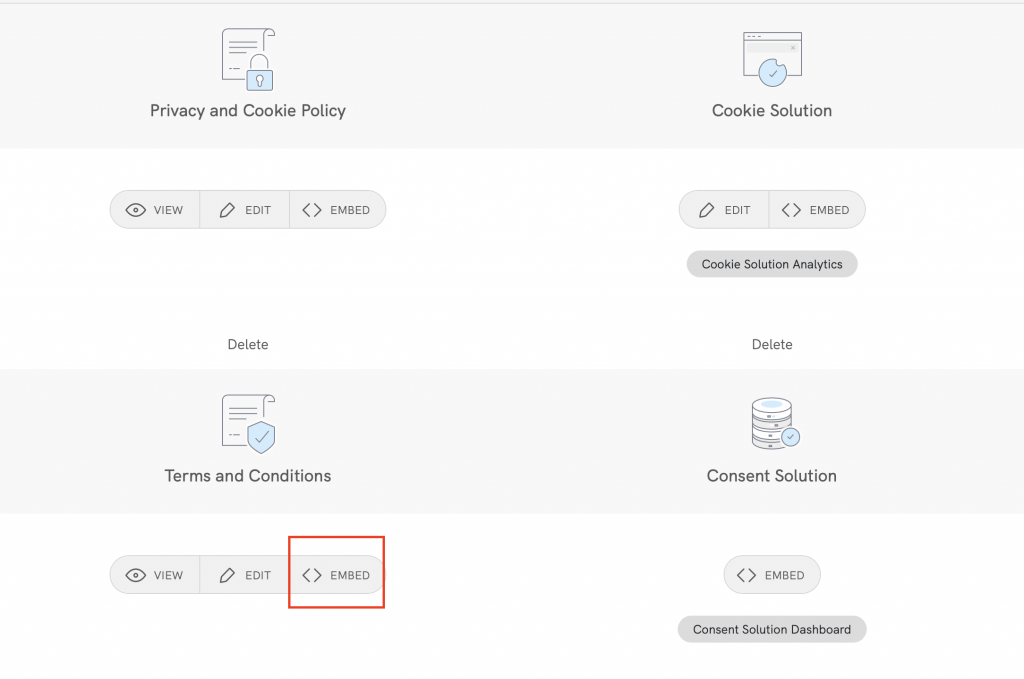
The widget is typically placed in the footer of your HubSpot site and displays either a text link or button. When clicked, it opens a lightbox-style modal window to display your terms and conditions document.
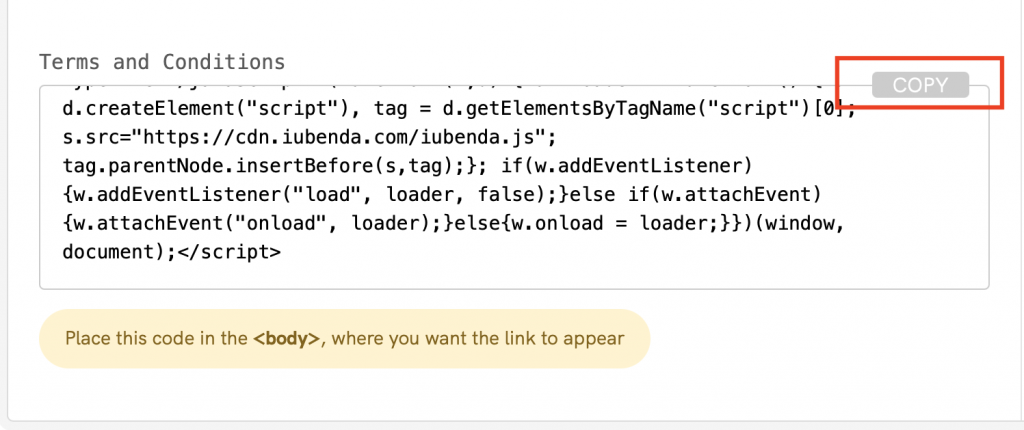
In the embed section, click on Add a widget to the footer scroll down to Terms and Conditions and click on COPY
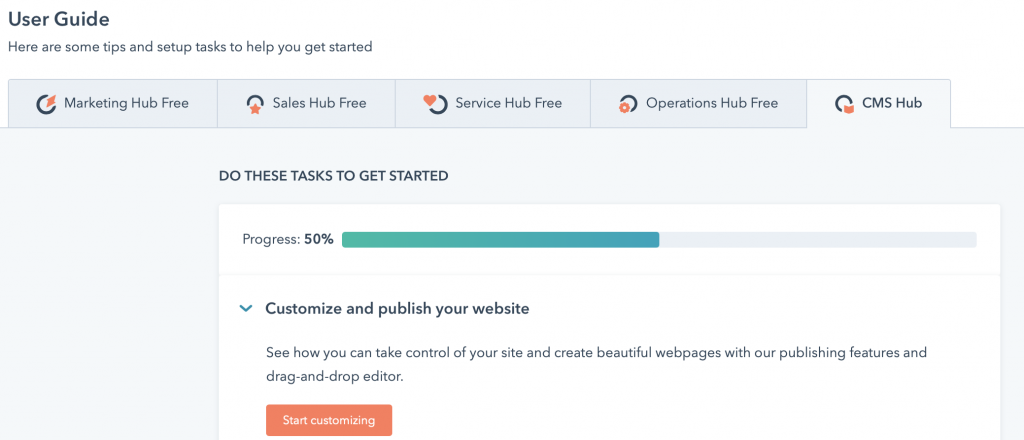
Next, head over to your HubSpot Dashboard Beta and open your website project. Select CMS Hub and Start customizing
Select your home page and click on Edit

Now, click on Settings

Scroll down to the bottom and open the Advanced options

Scroll down again to Footer HTML and paste your iubenda code in the box
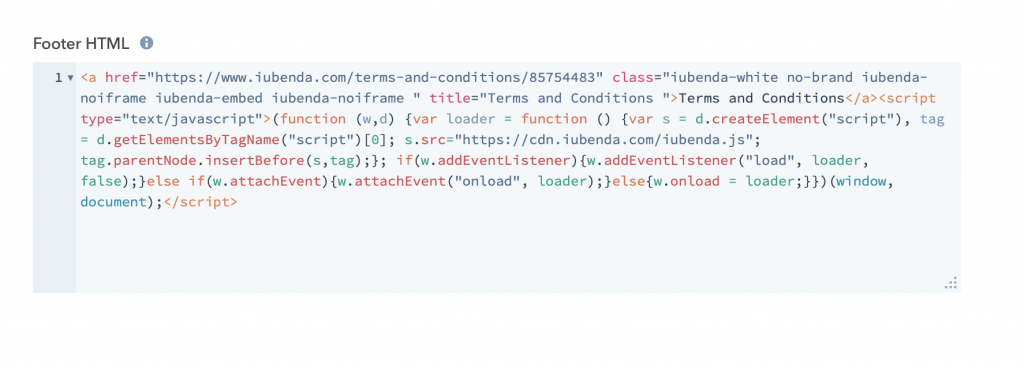
HubSpot has an autosave setting, so just click on preview and publish!
To add a direct link click on Use a direct link look for Terms and Conditions and click on COPY
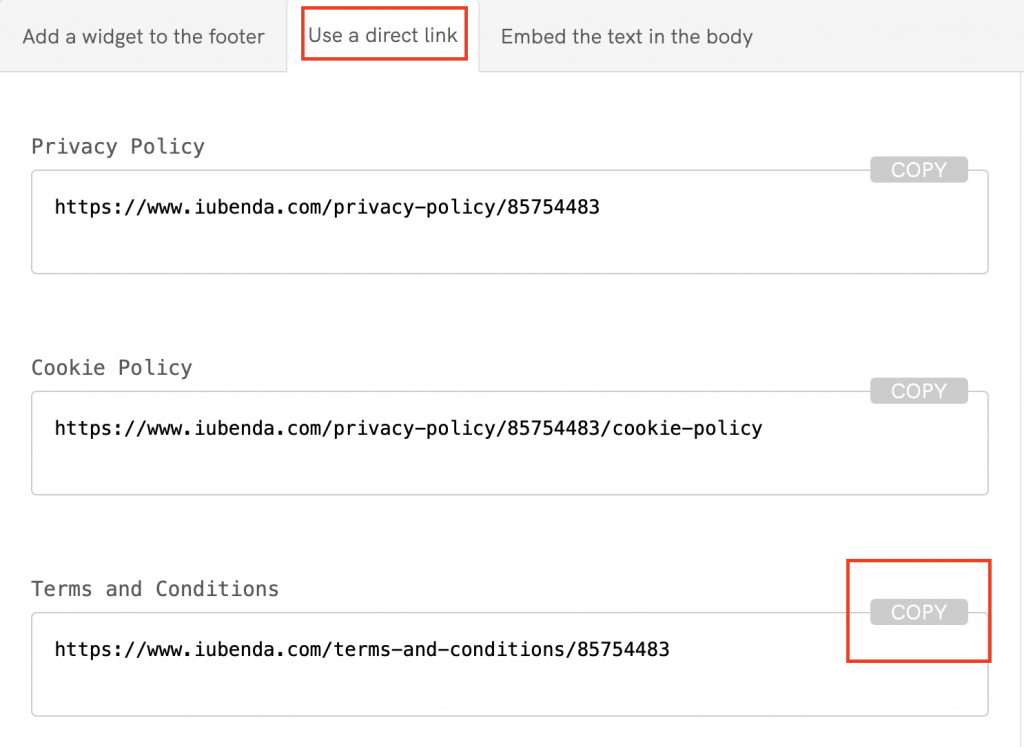
Next, head over to your HubSpot Dashboard Beta and open your website project. Select CMS Hub and Start customizing
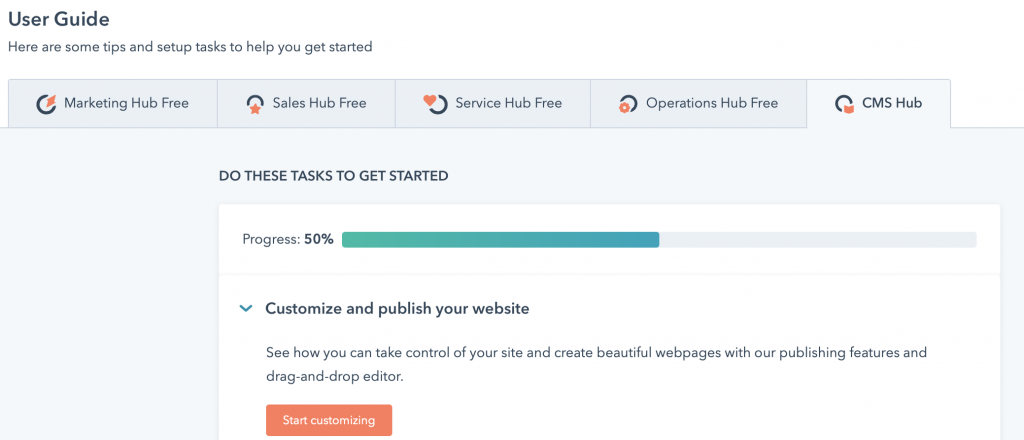
Select your home page and click on Edit

Now, click on the Settings button

Scroll down to the bottom and open the Advanced options

Scroll down again to Footer HTML and paste your iubenda code in the box and add <a href=“ to the start of your link and ">Terms and Conditions</a> to the end.
Remember to use your unique code, your link will have a different value to the one in the image below

HubSpot has an autosave setting, so just click on preview and publish!
The direct text embedding option makes your Terms and Conditions Document look as if it is a part of your own site.
For direct text embedding click on Embed the text in the body scroll down to Terms and Conditions and click on COPY

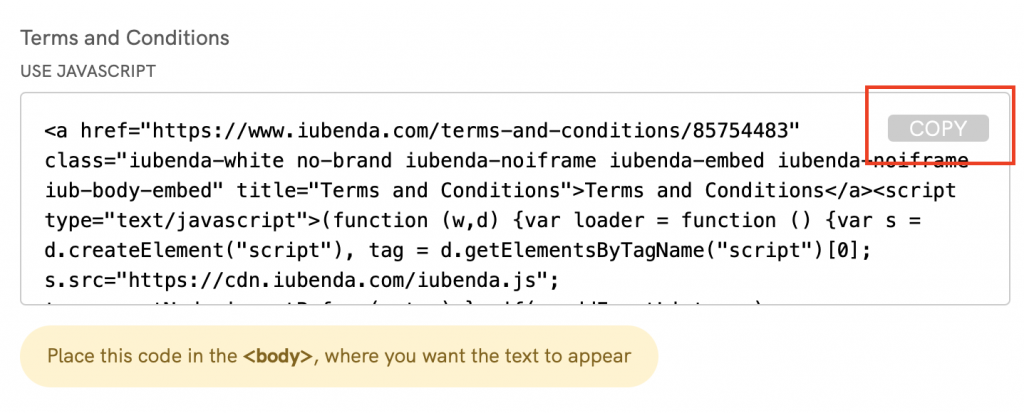
Copying the code directly will still apply iubenda styling (fonts etc.) to your document. If you’d like the document to take the styling directly from your website, select the white label option here.
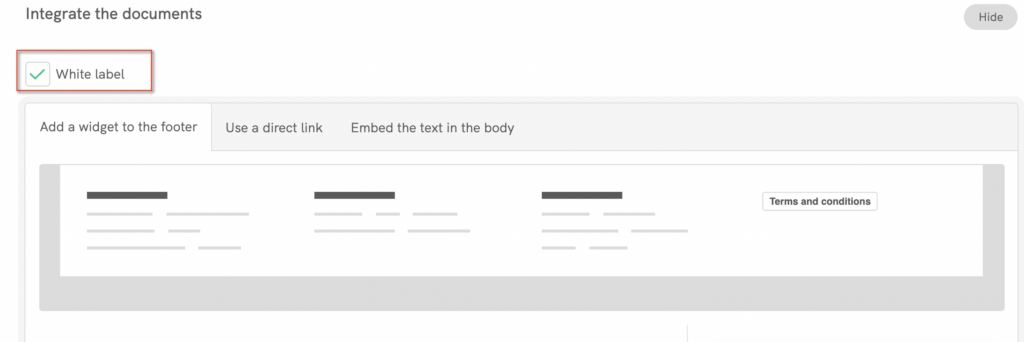
This will strip all iubenda styling from your document.
Next, head over to your HubSpot Dashboard Beta and open your website project. Select CMS Hub and Start customizing
Next, select website pages and click on create > Website page

Type in a Page name Terms and Conditions and click on create page
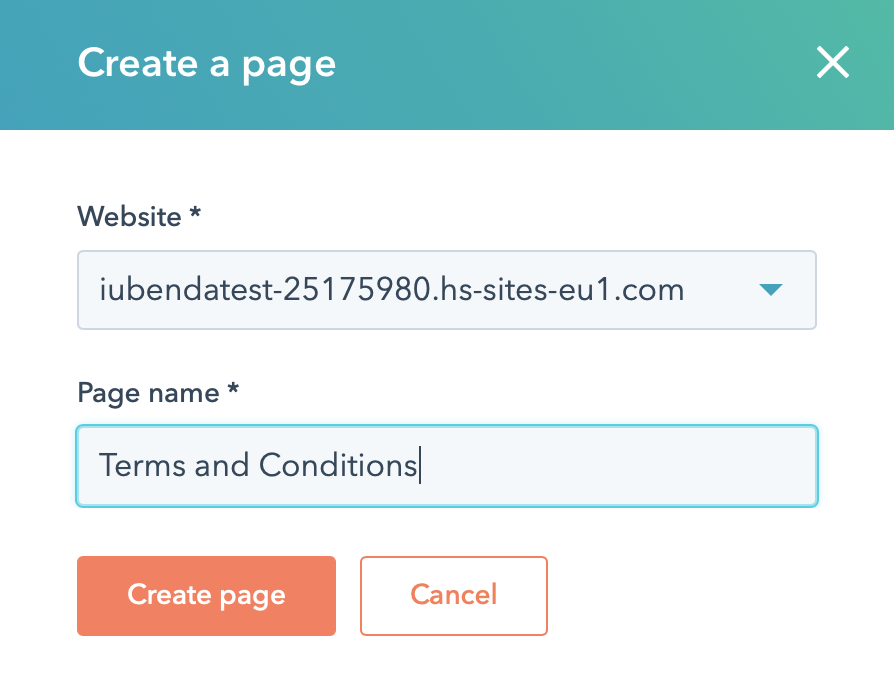
Next, you will need to choose a page template for this example we will use the “blank” template. The same method will apply to any template you choose. Now you will be taken to the page editor.
Scroll down to Common modules and drag and drop Rich Text to the main body of the page under Drop modules here
The page will open as shown in the image below, please select Advanced > Source code
Now, delete all the text inside the Edit Source code and paste your iubenda code

Scroll down and click on Save Changes. To see the finished result click on Preview in the top right corner.
HubSpot has an autosave setting, so just click on preview and publish! You now have a Terms and Conditions Document that looks as if it is a part of your own site.
💡Not sure what privacy documents you need for your HubSpot? Do this quick quiz to see which laws apply to you and your business.