Do you own a WooCommerce store and need terms and conditions but don’t know where to start?
Well, you’ve come to the right place. Let us start by reviewing why you should have terms and conditions, what to include with a template example and how to generate your terms and conditions.
→ jump to how to add Terms and Conditions to your Woocommerce store
Do you want to save time, money, and stress? Yes? Then, a strong and understandable Terms and Conditions agreement is needed if you are running a business using WooCommerce. Ultimately, a Terms and Conditions agreement will provide the store’s owner (that’s you!) with legal protection. In the case of breaches or product failures, your well-defined Terms and Conditions will limit your legal liability. Not only this, it will give users clear guidelines of what to expect while visiting and using your store. Terms and Conditions are ever more important to WooCommerce store as they set out clear payment and shipping terms. Payment and shipping terms include acceptable payment methods, warranty and withdrawal information, how payments are processed, how long shipping takes, and what happens if an order is lost or arrives damaged.
Many of these terms, such as warranty and withdrawal information, are legally required.
Of course, you will have a specific Terms and Conditions agreement tailored to your business. However, it is important to note that there are a number of clauses that are useful for every website’s terms and conditions.
As a WooCommerce store owner it is essential to include in your Terms and Conditions:
It is imperative you clearly display accurate contact details for your company in your Terms and Conditions.
⚠️ Many of these terms, such as warranty and withdrawal information, are legally required.
Our Terms and Condition Generator is optimized for everything from eCommerce, blogs, and apps, to complex scenarios like marketplace and affiliate scenarios.Start generating your Terms and Conditions now
Once you’ve generated your terms and conditions with iubenda there are three ways to integrate it on your WooCommerce store. You can either:
To get started first head over to your iubenda dashboard, click on [Your website] > Terms and Conditions > Embed
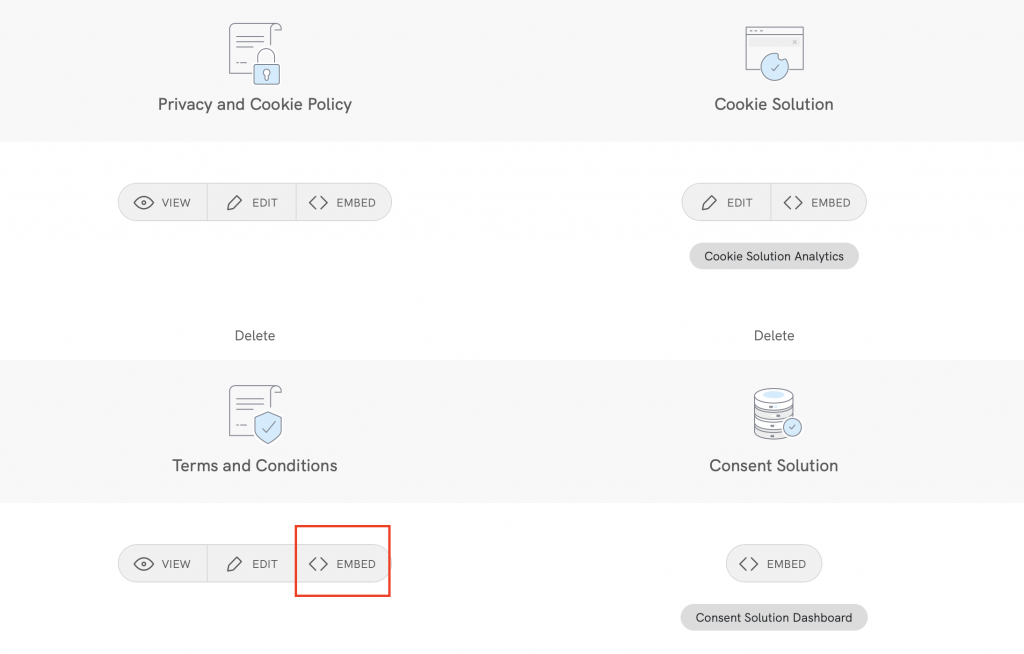
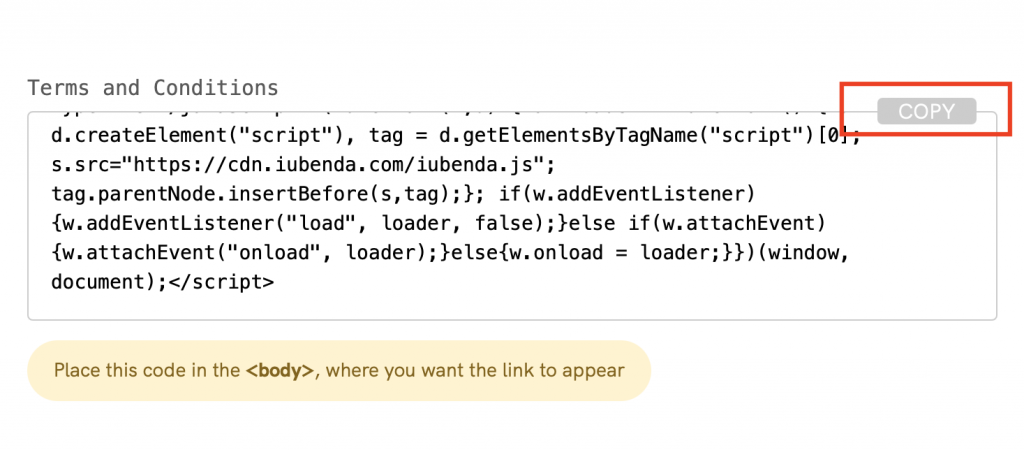
Standard embedding for a widget that opens a modal at the footer click on > Add a widget to the footer scroll down to Terms and Conditions and click on > COPY
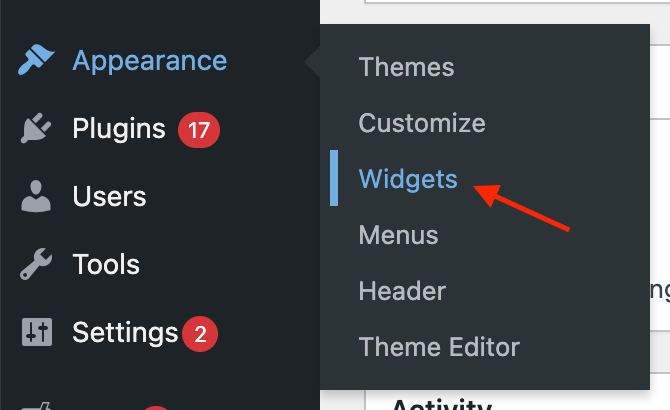
Now that you’ve got that, head over to your WooCommerce stores Admin Panel > Appearance > Widgets > Footer
Then you can drag the text to the footer area
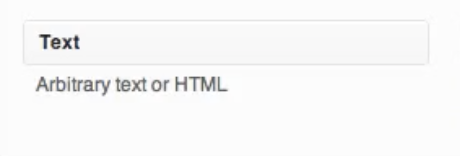
You can do this by dragging the sections above to this section shown below
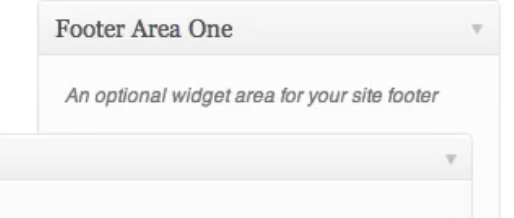
Paste the embedded text here and you’re done!
To add a direct link click on > Use a direct link > Terms and Conditions > COPY
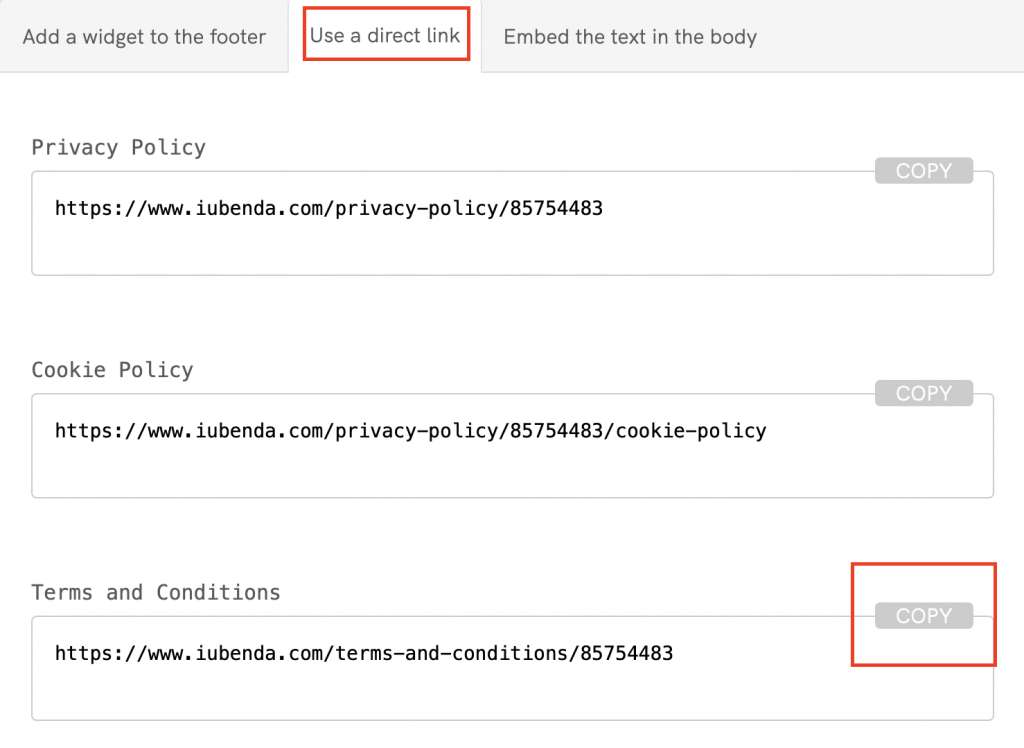
In order to add the iubenda Terms and Conditions link to your WooCommerce stores, we’re going to use the links widget. Links widgets can essentially be added all over the design you’re using with links going practically anywhere you want them.
In your admin in the sidebar, click on Links and then Add New
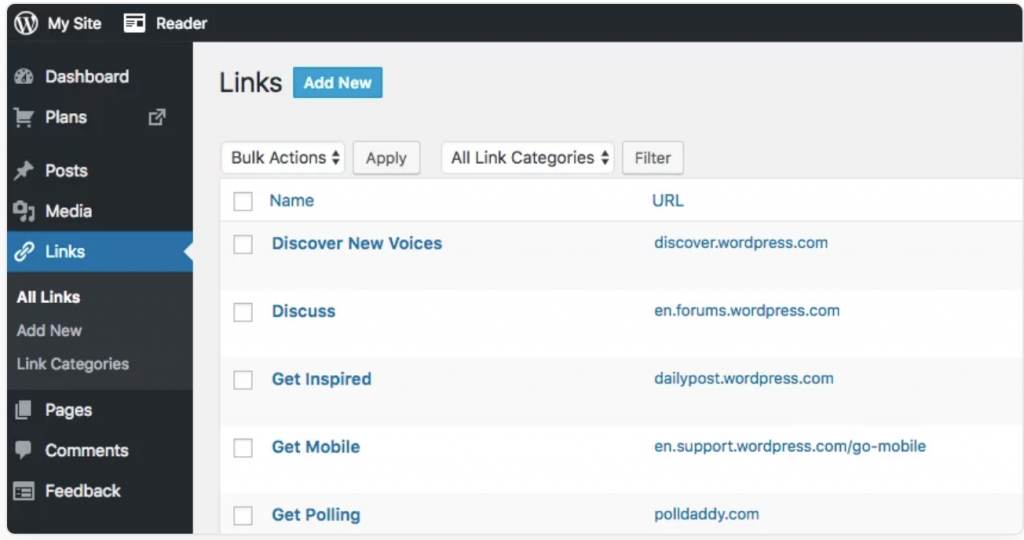
Next, you’ll need to:
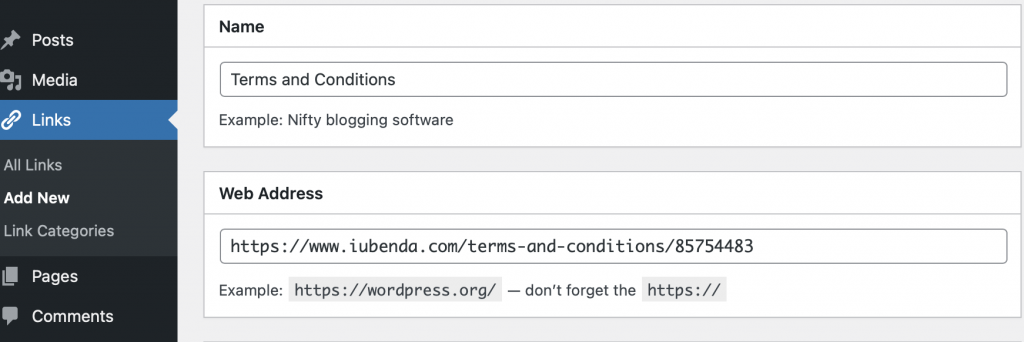
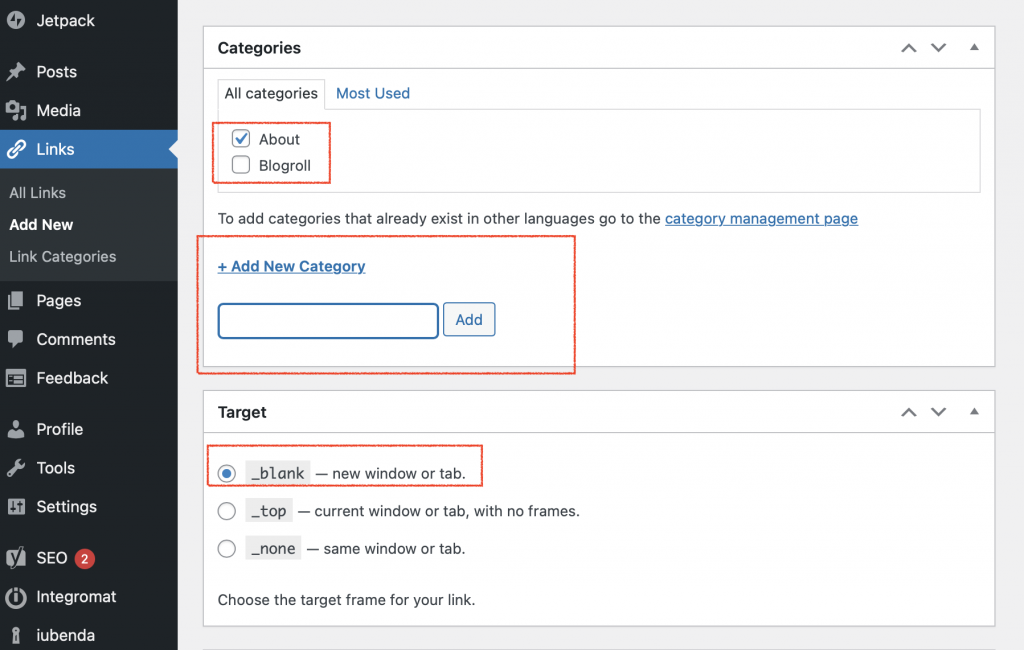
Place the Links widget in the site footer
With that done, we simply need to place this link category within your footer. For this, find the Appearance link in your admin and then navigate to Widgets. In this window, you should now see the footer widget area. This is where we need to place the category containing our links.
Simply:
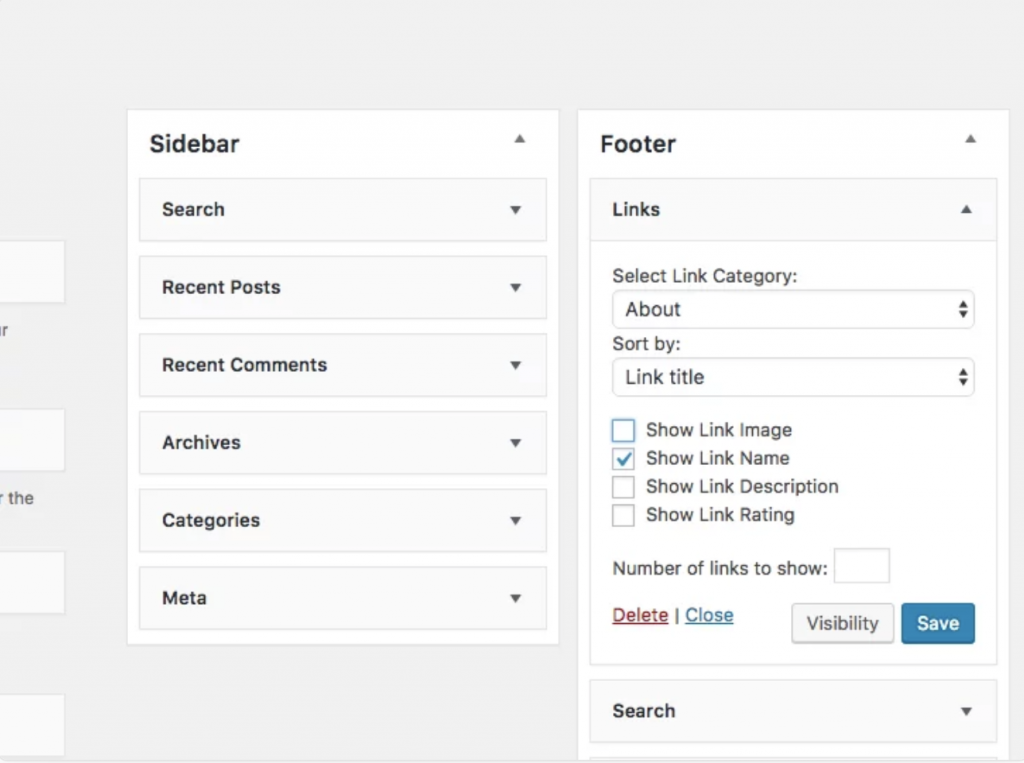
The direct text embedding option makes your Terms and Conditions Document look as if it is a part of your own site.
For direct text embedding (in this case, you need to create an empty page on WooCommerce, and paste our code there. This way the page will be populated with T&C) > Embed the text in the body > Terms and Conditions > COPY

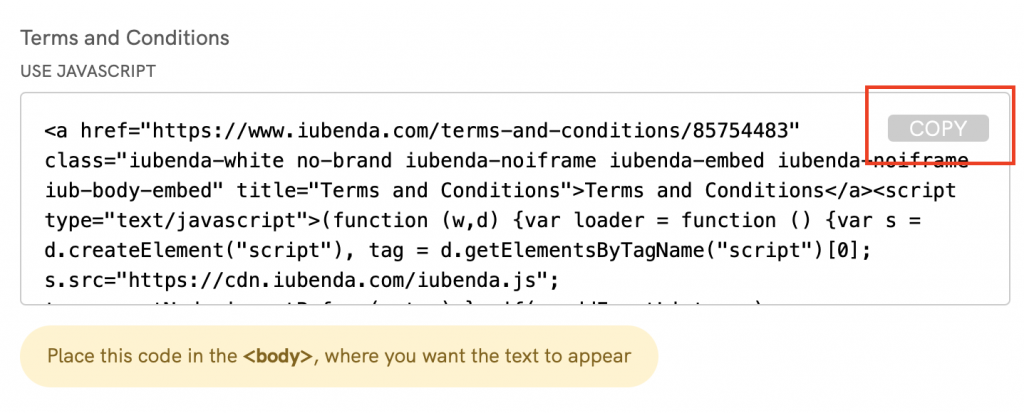
Copying the code directly will still apply iubenda styling (fonts etc.) to your document. If you’d like the document to take the styling directly from your website, select the white label option here.
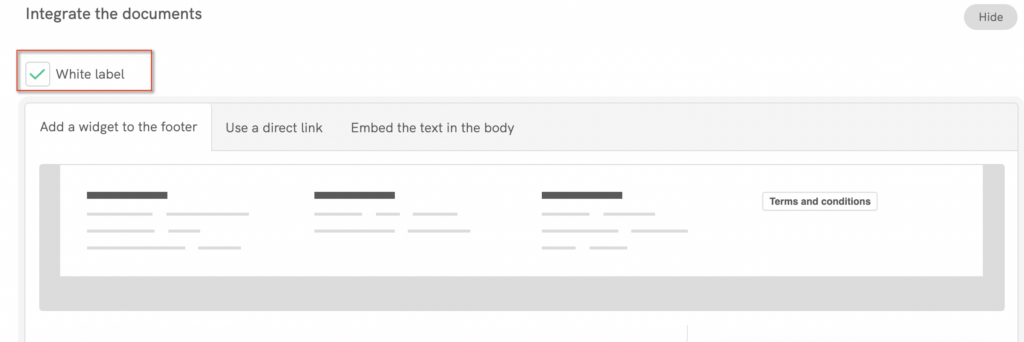
This will strip all iubenda styling from your document.
In WP > Admin Panel > Pages > Add New
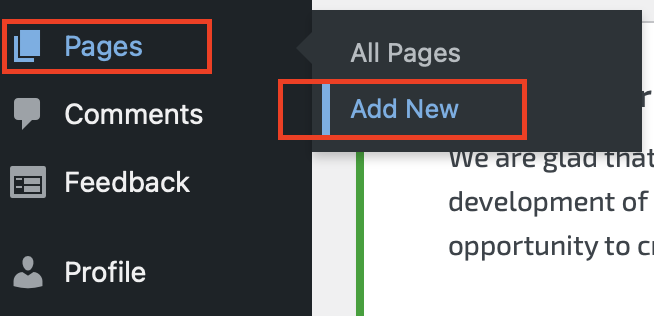
From here, you can paste the embedded text into the body of the page. Make sure that you’re in the text editor or in “custom HTML “.
And that’s it! You’ve successfully added your terms and conditions document to your WooCommerce store.
Not sure what privacy documents you need for your WooCommerce store? Check out this quick quiz to see which laws apply to you and your business.